You Should be in for a treat this evening, ladies and gentlemen. This is actually the first blog post that’s been written on a computer rather than dashed off quickly on my iPhone or Kindle. Now lets see if i can get the knack of WordPress- you’d think I’d have found this out before launching the blog but I tend to get excited about ideas and can’t hold myself back to plan sensbly before leaping in, feet first- I guess that’s how I ended up having my daughter a year after I got married and my son less than two years later.
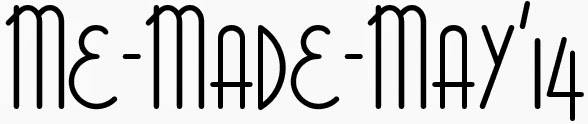
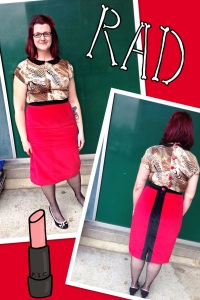
Anyway, I want to share a newly finished outfit for you this evening. This one was a labour of love, I can tell you. As you may remember my fabric generally comes from two sources 1) Big Nana’s Stash (husband’s grandmother) or 2) Charity shops. This outfit combines fabric from both. I’ll tell you about the skirt first as I made it a while ago and don’t have ‘in construction’ photos of it.
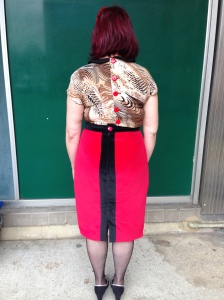
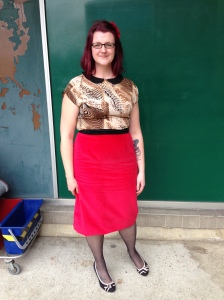
This is a gorgeous red velvet pencil skirt, or ‘The Velvet Kitten’ as I like to call her as she’s so strokable. After I made my first Pencil Skirt, I was rummaging in Big Nan’s stash of fabric, that I got to claim when she gave up sewing, and found a piece of red velvet that I just knew had a future as a new skirt for me. Unfortunately it was about three inches too narrow. I had more red velvet but it was probably about 12 inches long and so the nap would have been going in completely the wrong direction if I’d tried to piece that into the skirt. So I made do with black and gave it a black waistband to tie it in a bit more and make it look less like I’d just bodged it together.
Argh! My buttons are wonky from sitting around all morning!
I made a school-boy error of using velvet for the waistband facing so that pulls me in somewhat with the extra bulk. Please excuse the hideous back fat on display! I interlined this skirt with….. ummm some brown lining like stuff I found in the stash! No idea what it is but it’s probably man-made fibres and it lead me to the discovery that I really needed a new iron. It was creased to buggery when I pulled it out of my fabric chest and in the process of pressing it, pre-cutting, my £3.60 bargain Argos iron had leaked all over it leaving hideous water marks. Oh well, it’s on the inside and also helped me convince Tobi that I needed to spend a bit more on a iron- can you believe we didn’t own one until I started sewing properly about a year ago.
The only amendment I made to the pattern was to make the waistband straight. I made the curved one that is in the pattern with my first skirt but without the boning etc. and it just doesn’t hold up when wearing it all day without the boning. Oh yeah, the other major change I made to this was to cut out the right size, rather than two sizes too big like the last one!
Note to self, crop out shopping centre mop bucket before uploading photo next time!
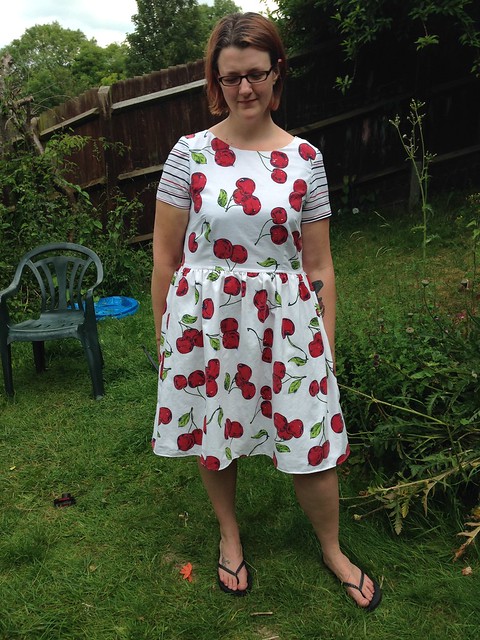
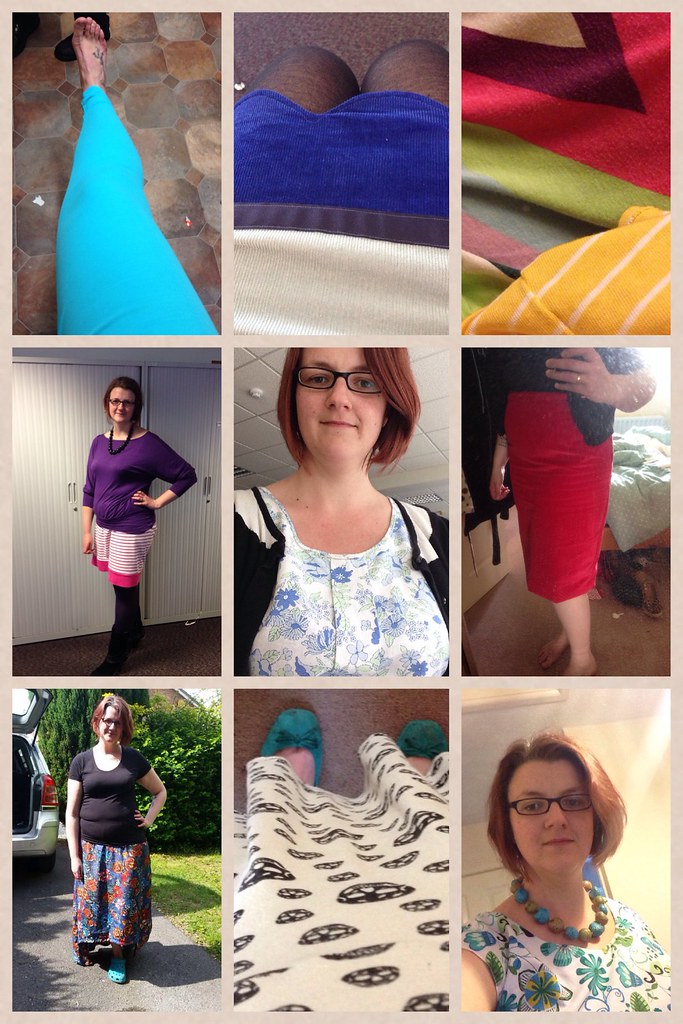
So, Lets talk about the top, named the Cortortionist’s blouse because those buttons at the back are damn hard to do up on your own. I looked like I was doing the funky chicken around my bedroom this morning getting dressed.
I was inspired by A Stitching Odyssey’s Peter Pan collar blouse. I completely fell in love with it when I saw it and have been lusting after something similar since I clapped my beady eyes on it. Marie used a Simple Sew pattern but, as usual, I don’t have two penneth to rub together to buy the pattern so I decided to use Getie’s (what a surprise, are you starting o see I’m a bit of a fan girl?) bow-tied blouse pattern- she even has instructions for a handy Peter Pan collar variation.
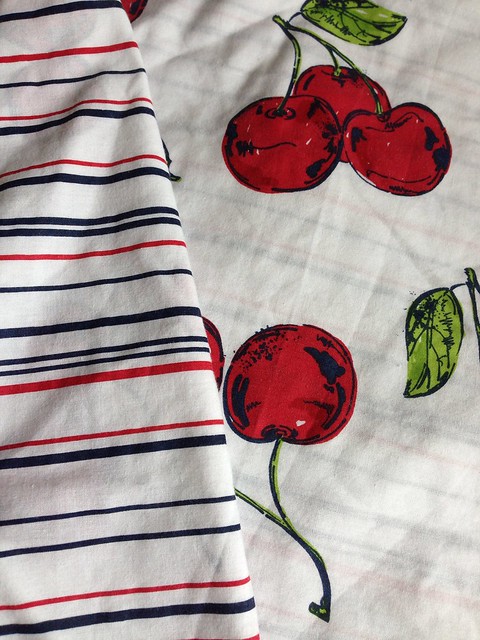
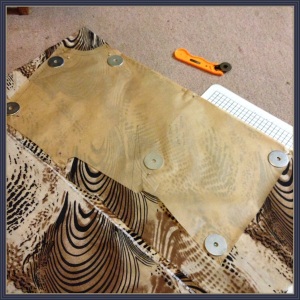
So I had my pattern but what about the fabric? Big Nana’s stash revealed nothing suitable but one of my charity shop fabric trawls did.
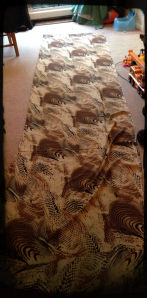
That’s my daughter’s knee halfway up the right-hand side. She insisted on sitting next to the fabric while i worked out how much I had.
You are looking at (well, probably squinting as it’s so small) three metres of drapey animal-esque possibly man-made (I burnt a scrap and the edge went melty) Crepe. I was super bargaintastic!!!! £4 for three metres!!!!! That’s how I can sew on a budget. The collar fabric was offcuts from a pair of RTW work trousers I cut down into shorts last summer.
This fabric and I had serious falling’s out in the process of making this garment. It just wanted to slip slide all over the place and, as it’s pretty heavy stuff, gravity kept dragging it off the side of the sewing table whilst I was sewing. It started at the pinning stage, where I had to use pattern weights and pins to keep it held down and secure.
Then I had pattern marking issues. To actually make a mark on the fabric I had to rub so hard with my chalk pencil that it damaged the weave of the fabric, so I had to resort to teaching myself a new technique- tailor’s tacks. They’re surprisingly easy and another trick to add to my arsenal for the potential Sewing Bee.
Gertie’s blouse pattern calls for double knit but, ever fearless, decided to go with the crepe anyway. Silly me, didn’t think (much) about the stretchiness of the other material. The crepe felt like it had a bit of stretch to me, but in hindsight I think that’s just where it is so uncontrollable in your hands it deceives you that it’s stretch. Anyway, the sizing turned out a bit snug (but wearable) around the tummy section so if I make another one I’ll alter that. I would alter this one but I’m afraid there’s no seam allowance left in which to do it. More on that later.
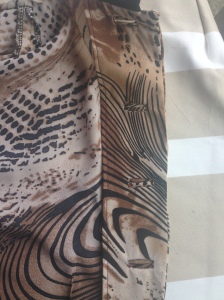
I’ve made one of these blouses before and I find the neckline a tad too high, so I dropped it an inch at the front and widened at the sides by an inch. It worked- I’ve worn the top all day today and didn’t tug at my throat once. The collar was self draft and I’m pretty chuffed with it, although it’s not quite sitting right. It’s hidden by my hair in the pics but if I wear it up it looks slightly like my collar is trying to take flight. I think it’s either an interfacing issue or that the notches I made on the new neckline weren’t in quite the right place so the collar’s placement is a bit off.
Moving on to the buttonholes. I was completely star stuck the other day (this is relevant, just wait for it) when Llaydbird Lauren kindly responded to an e-mail I’d sent and said she’d seen my Colette Meringue and liked it. That completely made my day and also in my response to her I reflected on the construction of the skirt. I commented that I usually rush my sewing because I’m too impatient to wear the finished article but, I’d taken my time on this and it had paid off in less mistakes and a slicker looking finished article. Here’s where the goddamn buttonholes come in. Gertie’s pattern has bound button holes. The last top I made I chickened out and machine stitched my button holes at the end. But on this one I decided to take my time about it and made the bound buttonholes.

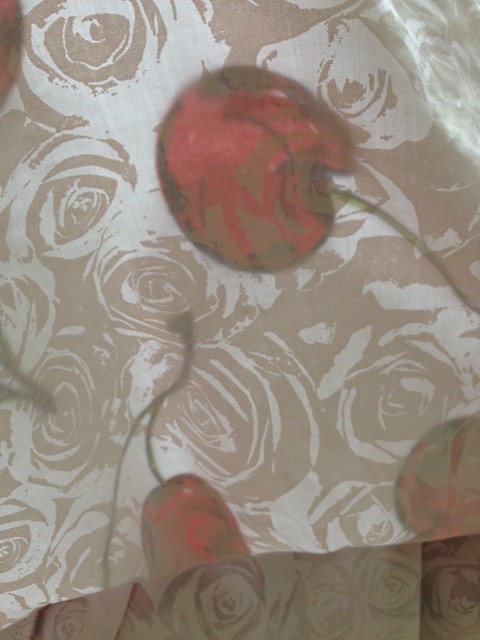
Front of my buttonholes
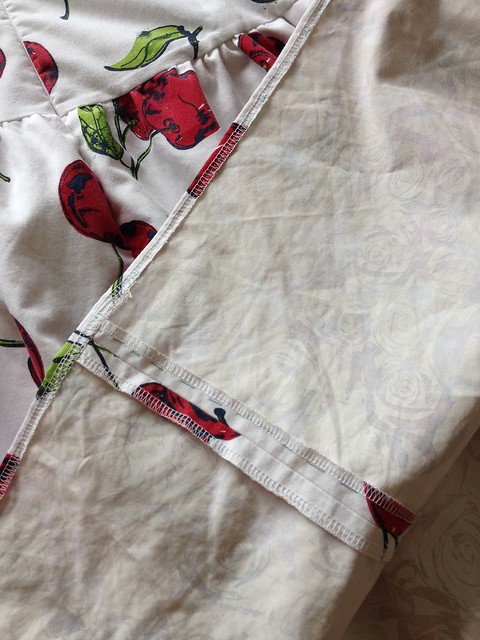
Back of my buttonholes
I used Gertie’s instructions, although I’ve heard that Karen at Did you Make That?’s ebook is really good too. Enter the final element of this fabric nightmare. The buttonholes were a pain in the arse to shape with this bouncy, springy, alive animal fabric and all of the handling I had to do to get them right meant the seam allowance frayed hideously. I glanced up and half my seam allowance had disappeared. To rescue it from disintergrating further I whipped out my overlocker and went over the edges in most danger, cutting off as little as possible.
I didn’t think about seam finishes until I had already done one shoulder seam. Doh! I kept both shoulder seams with a plain seam and overlocked the seam allowance afterwards. However, I used French seams on the side seams, mainly to keep in any stray edges and it looks pretty.
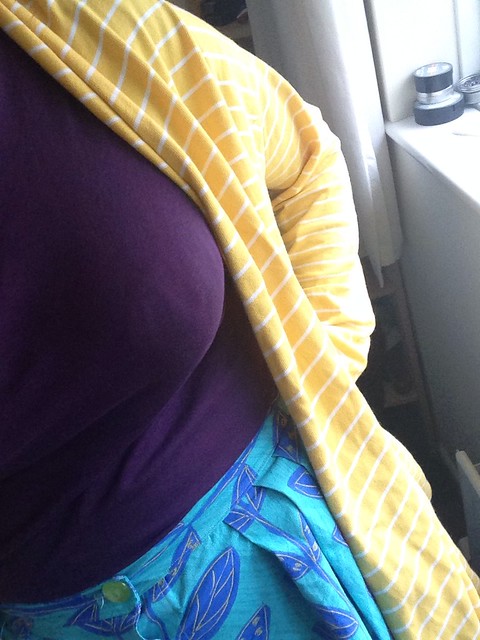
All-in-all, I’m pretty funkin’ chuffed with this outfit. I had compliments at work and even from one of the security guards in the shopping centre in town (my office is above the centre). He surprised me as I work in an office full of women and they all look blankly at me when I talk about my sewing and the fitting process. Not Joe, the ex-army security guard, his wife is a seamstress and I had an animated conversation with him on my way back to work about making a muslin and mitred corners on the curtains she makes. She gets him to hem and press them all for her.
Thanks again to the lovely Chelsea Fellows, who took my outfit pics for me.
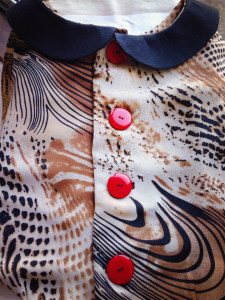
One last look at my awesome buttonholes, cunningly hidden by fabulous red buttons. I will now bid you adieu as I have waffled far too much.
Don’t forget to check out my Pinterest board on Sewing Bee techniques. I’ll update it tomorrow after the show with all the things they do in episode four. So excited!