
I’m a bad blogger. I’ve got pics all ready to rock and roll but no text typed. I don’t know about you but when I get home from a stressful days work and it’s already dark outside all I can motivate myself to do is snuggle up in front of the television and drool over Idris Elba in Luther. I’m not good in the Autumn/Winter anyway and suffer from a bit of Seasonal Affective Disorder, so my mood and motivation are even lower in the dark days.
Anyway, there has been something this month that has really kept me motivated, helped me meet loads of new seamstresses and kept me inspired. It’s #BPSewvember over on Instagram. If you haven’t seen it, this is an idea that Amanda from Bimple and Pimple came up with. There is a sewing related theme for each day of the month and the idea is to post pics relating to the theme each day. As I type we’re on day 20 and amazingly I have kept up and posted a picture each day. I have also lost at least 50% of my productive working day by browsing that hashtag. I think I’ve said before that I don’t really have any friends who are into sewing so getting a sneak peak into others sewing lives is a rare treat. Check it out if you haven’t already, it’s addictive. Here’s a selection of some of my pictures this months so far.

The Make
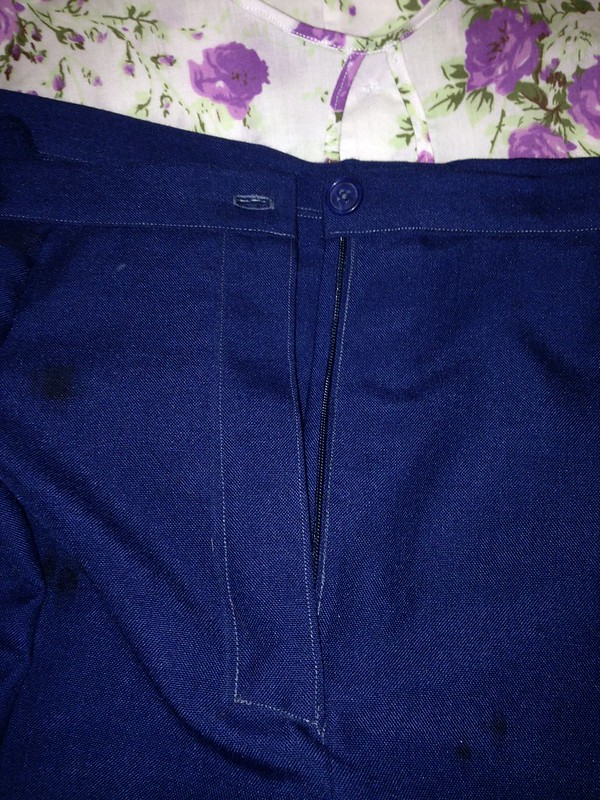
So, onto some actual sewing then. You may recall me saying when I posted my Welt Pocket Tutorial, that I was working on a pair of culottes from a Burdastyle magazine. Well, the culottes were more of a wearable muslin for the real deal, palazzo Pants. I used this pattern from burdastyle for this make, although it came from my copy of the magazine rather than the website. For the wearable muslin I used a cream poly cotton that was in my stash which I believe was given to me by a colleague. My measurements were slightly larger than the largest pattern in the magazine so I had to grade up the pattern slightly. I added two inches at the waist and three inches at the hips. Construction was actually fairly straightforward once I had deciphered the aforementioned welt pocket instructions. Surprisingly the fly zipper instructions were much clearer than the welt pockets. This was much first ever fly zipper and I really couldn’t get my head round it until I read Jen’s tutorial over at the Grainline blog. Thinking of the fly zip as a lapped zipper with an underflappy bit helped me make sense of it all and it came together fairly easily.

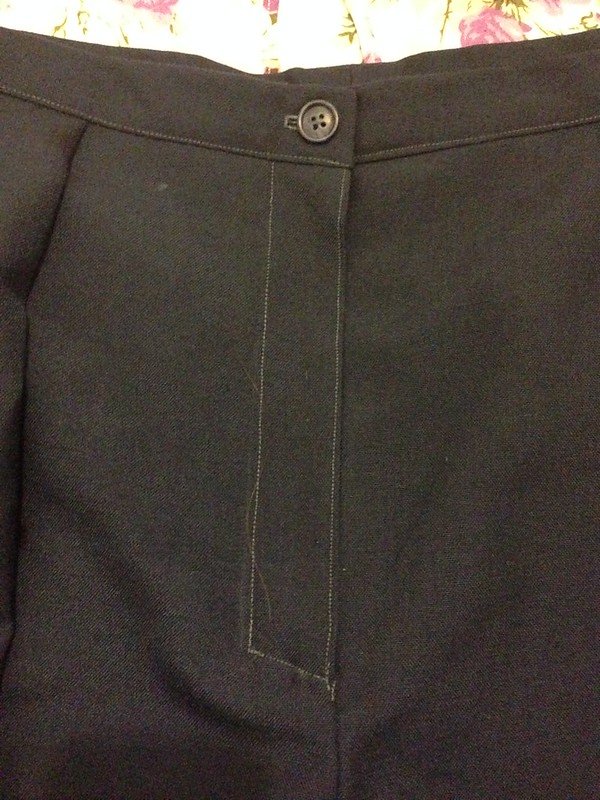
Just noticed a hair on the fly on this zip- sorry guys I moult like an Alsatian.
These were intended as a muslin but I was so pleased with the finish I decided to chuck them in the washing machine with some Pillar Box Read Dylon dye to see if I could make them wearable. They came out somewhat pink but I still quite like them.

I know culottes seem to be all the rage and the moment and Lily Sage & Co has put up some amazing versions here, here and here (she’s even just made her daughter a version here) but I’m just not sure if this style suits me. It certainly confuses my children as they have an unhealthy obsession with crawling on the floor under my skirts and they cannot work out why it doesn’t work for the culottes as they look so skirt-like. They are growing on me the more I wear them though. The fit was so good once I’d made them up that I stuck with the flat pattern adjustments I’d made for the culottes to make up the real deal palazzo pants.


The dreaded welt pockets.
Fabric
For my palazzo pants I used a navy blue something that I was given by a colleague. I have no idea what the fabric content of this fabric is but it’s a bit scratchy, like a coarse wool. I think it’s synthetic though as it didn’t press brilliantly.
Construction
For my wearable muslin I had a hard time remembering which direction the arrows for the very wide front pleats pointed so I laid them out towards the centre front as I preferred the shape that this gave the front of the culottes. However, the pleats are so wide they got a bit in the way of the fly. So, I double checked the pattern when I made up the trousers and sure enough, they’re meant to be laid the other way. Doh! Again, a pretty straightforward make once you have mastered welt pockets and fly zips.
I used a new technique to hem the palazzo pants as I’ve just bought a load of new presser feet for my sewing machine and in amongst these was a blind hem foot. So, I decided to avoid the inevitable hand sewing and stitch a blind hem on my machine. This is a bit more visible than it should have been because the thread colour was a little too light for the fabric. However, I like the finish and it was quick and relatively easy. The blind hem foot it my new best friend.
Fit
Look how wide these trousers are.

I feel like a ninja in these trousers and have pulled a lot of very silly poses in the office while wearing them to work.


I had no problems fitting these trousers whatsoever. I think it’s because they’re so wide that it compensates for any fitting issues there may have been. The top I’m wearing with them is another matter though. It’s my third version of Gertie’s Bow Blouse from her first book “The guide to better sewing”. So as not to overwhelm you I’ll blog this separately at some point.
Verdict
I’m not sure about these trousers. I had visions in my head of looking elegant and sophisticated but think it comes off like a ninja tree-trunk as they fall from my widest part, my hips. They’ve only been worn to work once and I still may shorten them to make them 3/4 length culotttes. Particularly as I keep nearly killing myself when going up and down stairs as my feet get tangled in the excessive flappy fabric.
Cost
Culotte length:
Fabric: Free
Zip: 69p from a charity shop
Thread, interfacing and buttons: all in my stash
Dylon dye: Approximately £7
Total: £7.69
Palazzo pants length:
Fabric: Free
Zip: £3 approximately
Thread, interfacing and buttons: all in my stash.
Total: £3

Oh my! I can’t seem to stay on top of my heels anyway, let alone in palazzo pants!